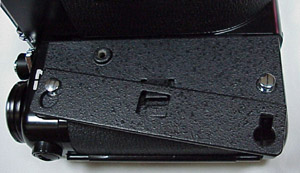
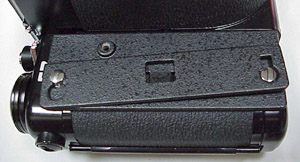
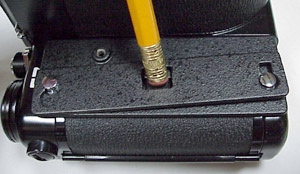
|
Step 1. The bottom (larger) plate is placed over the
chrome retaining posts with the threaded hole
positioned over the mirror lockup button.
|
|
Step 2. The upper (smaller) plate is placed
over the upper (left) retaining post and locked
in.
|
|
Step 3. The lower (right) hole of the smaller
plate is next positioned over the retaining post.
|
|
Step 4. The upper plate is rotated into place,
with the tab of the lower plate snapping into place
to hold both plates in position.
|
|
Step 5. To remove the battery eliminator, the upper
plate should be rotated, reversing step 4 above while
pressing down on the tab. Once freed of the locking
tab, all of the installation steps can be reversed
to remove the battery eliminator.
|